

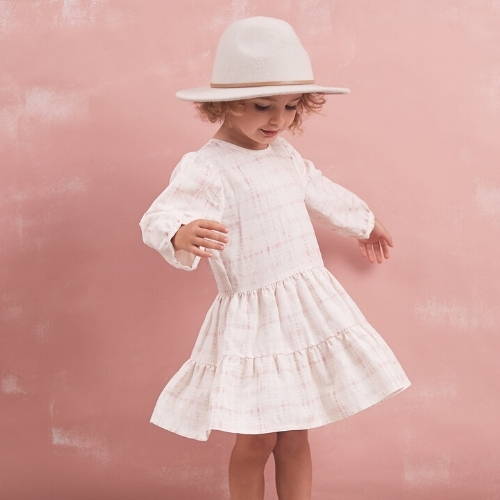
Dear Noa | Tie dye fun with Little Noa
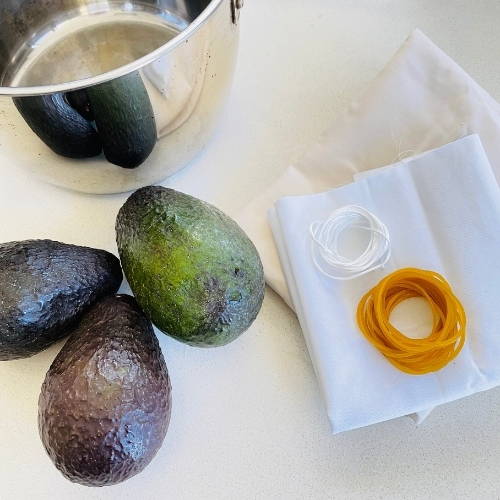
A list of things you'll need:
- 3 to 5 Avocados
- Elastics or string
- Cotton cloth or cotton clothing
- Soy milk
- Boiling water
Optional things:
- Tea bag
- Blender
- Cheesecloth cloth or thin fabric for soaking
(if using a blender)
Step 1:
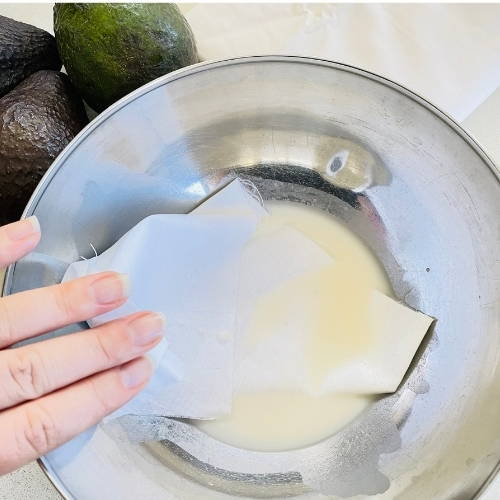
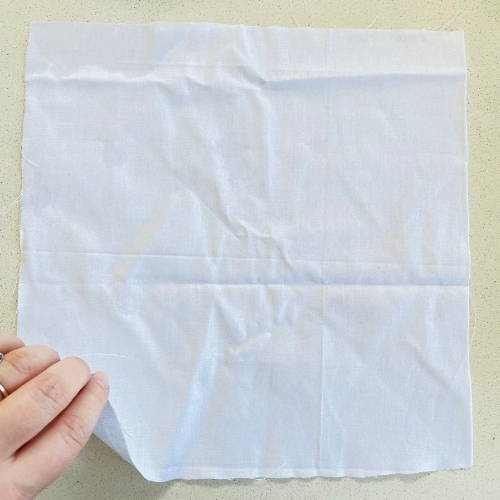
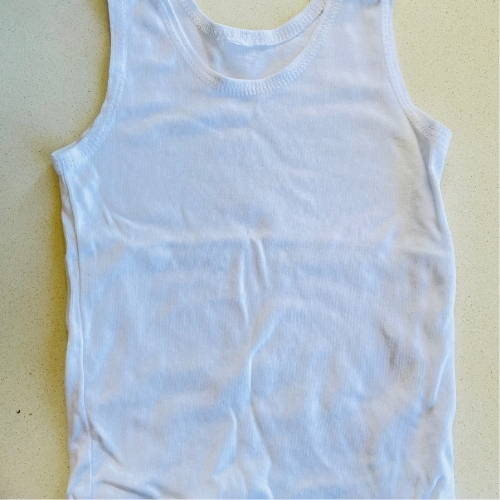
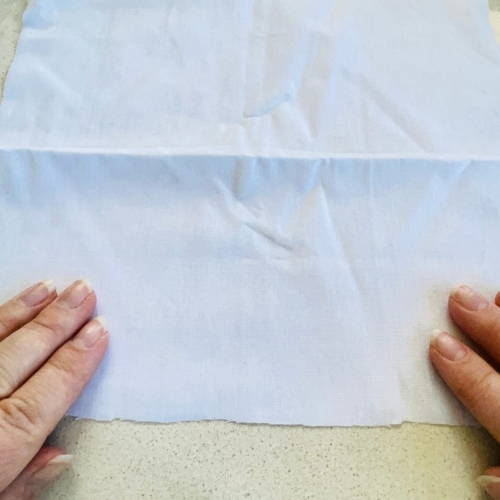
Before setting out- make sure that you prep your cloth/clothes so that the natural dye will set. The best fabric to use is cotton. Soak the fabric in soy milk, squeeze out and let dry. This way it will be more receptive to the dye.
Step 2:
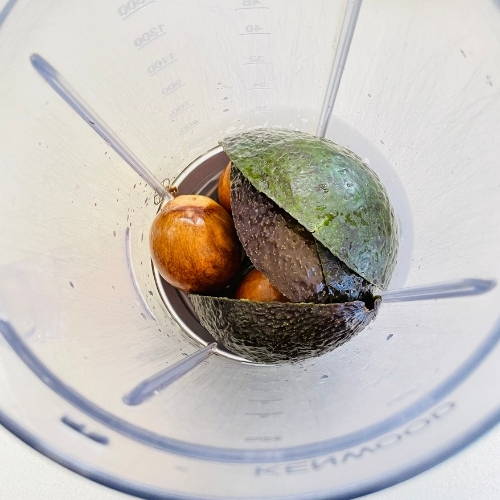
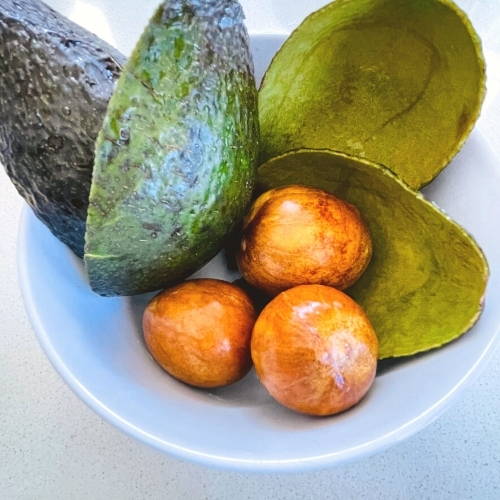
Clean out at least 3 avocados, removing all the green bits and leaving yourself with the pits and skin.
Throw into a blender with water, this will make it into a paste.
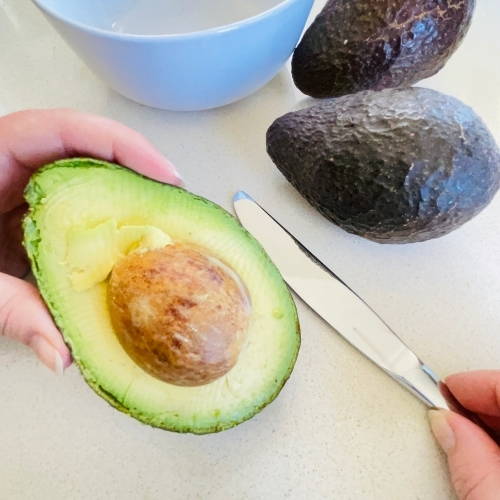
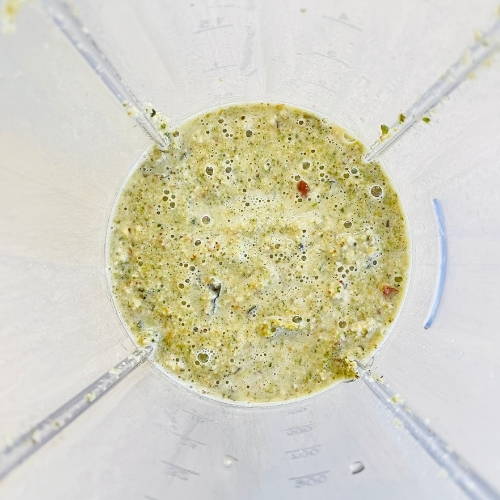
Note: If you don’t have a blender it is fine to boil the pits and skins straight into the water (less mess and things to clean up!)
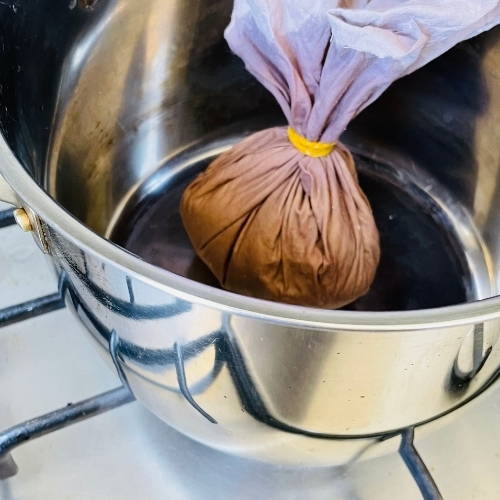
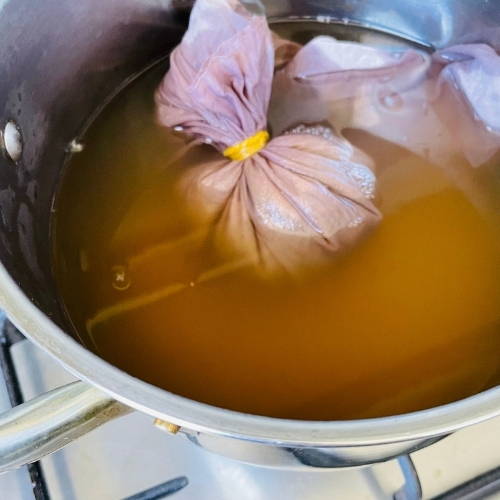
Step 3:
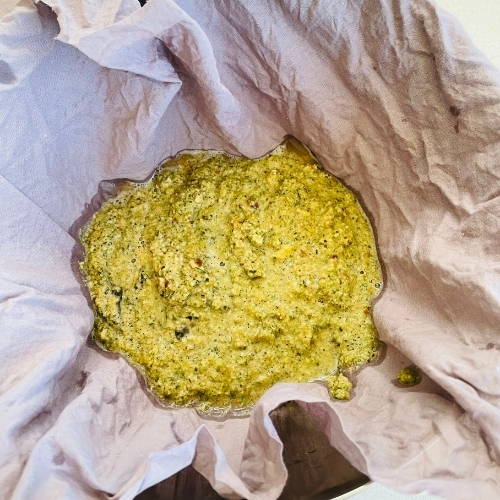
Put this paste into your cheesecloth and use an elastic too close, then put into a pot and add boiling water.
Bring to the boil and let it keep boiling for at least 15-20 minutes.
Step 4:
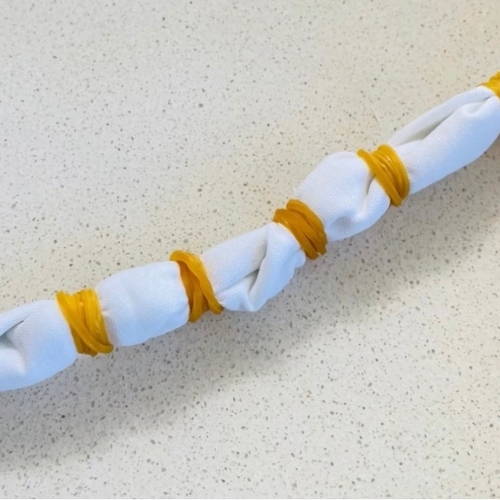
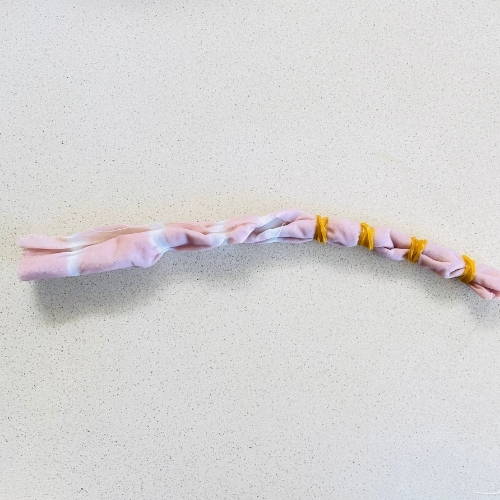
While waiting for the pits to boil, soak and wring out your cloth in water.
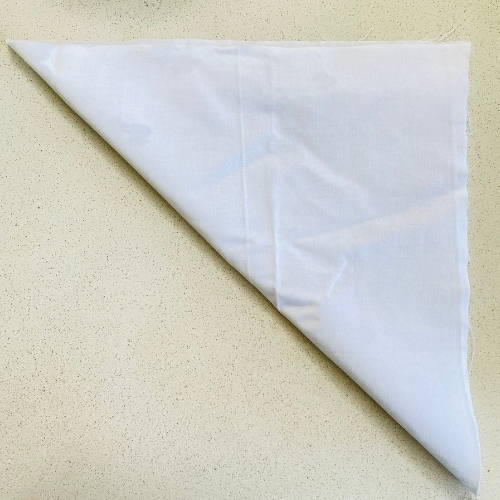
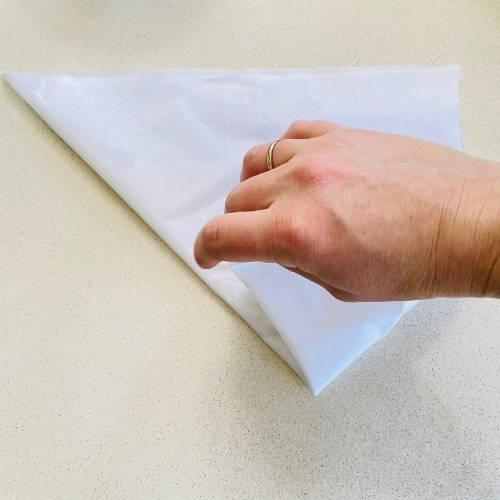
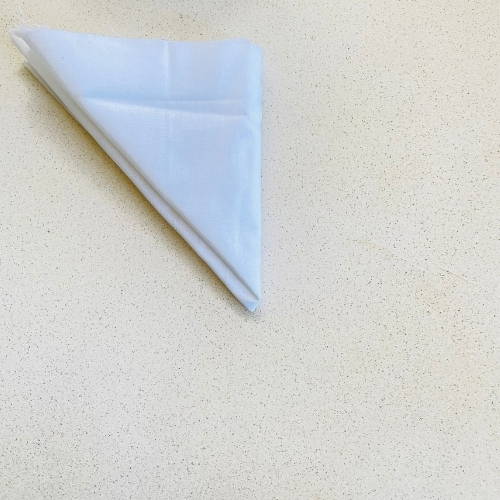
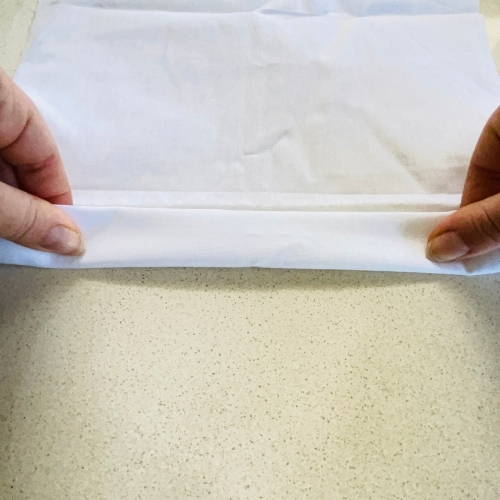
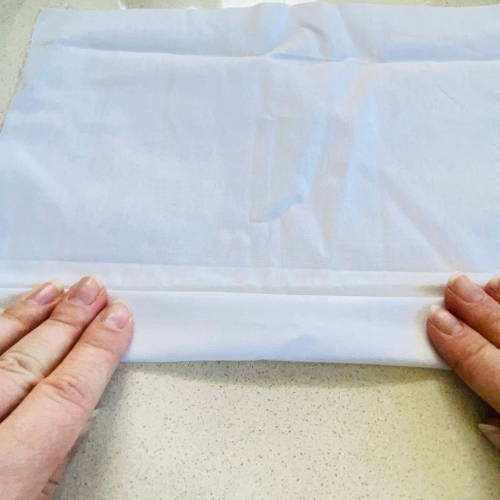
For a circular tie dye pattern, fold the cloth in half and then into triangles


Here are some other options of different patterns.
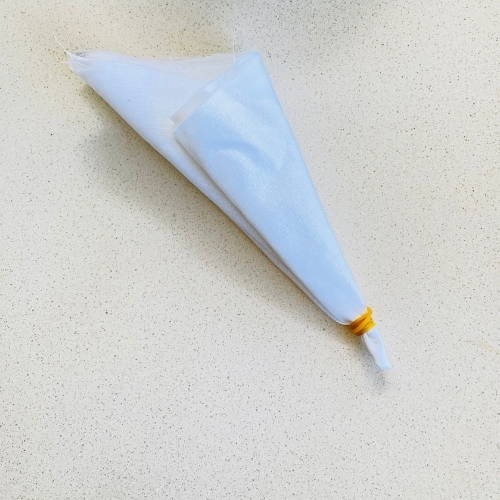
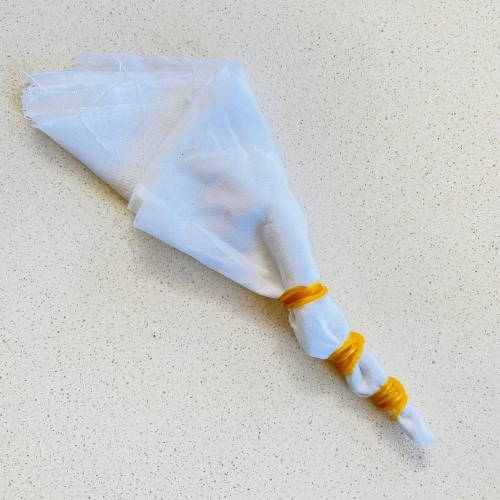
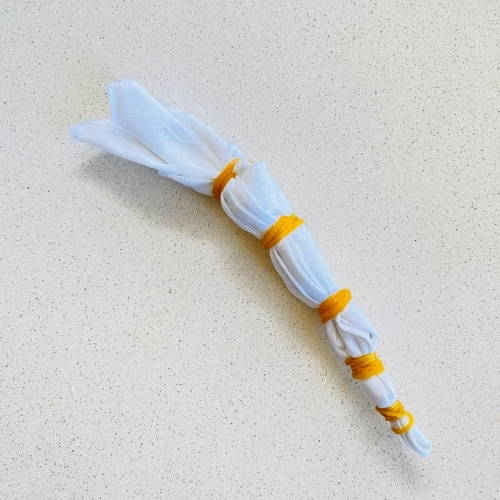
Easy circular pattern- pinch the middle of the top, tie the elastics moving towards the edges of the top.
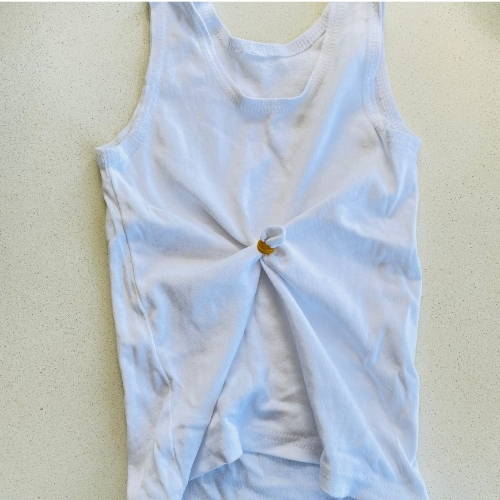
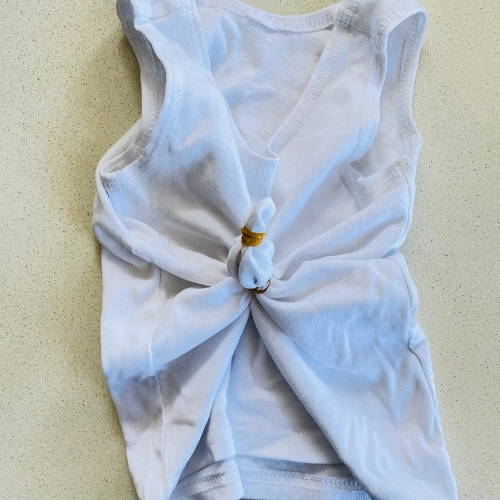
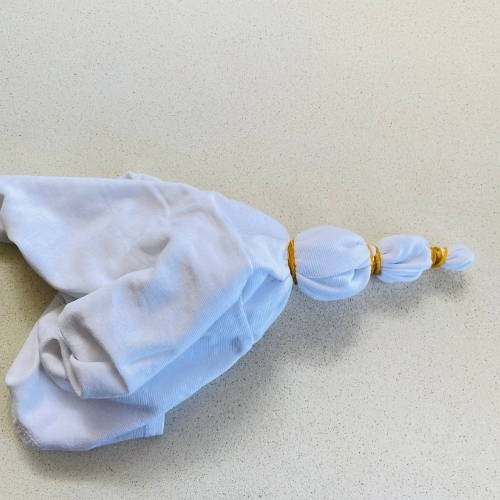
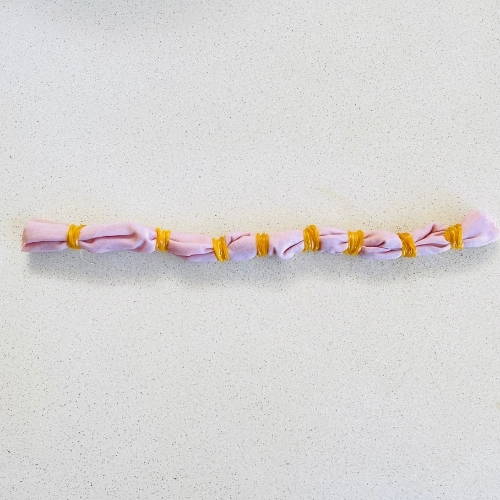
Or, fold the cloth back and forth with a 1cm width as if you are making a fan, then with either a string or elastic bands, tie the cloth, making sure to keep distances between each tie.
Step 5:
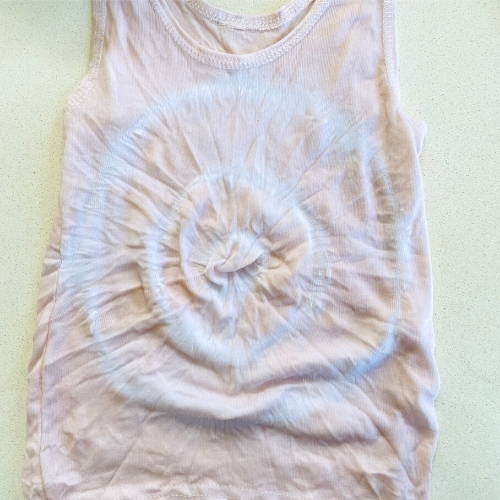
Dip the cloth into the dye and let it soak.
The longer you let it soak the richer the colour will be (side note: we only dyed small pieces of fabric and a singlet to create our design!).
Leave to soak for at least 15-20 minutes.
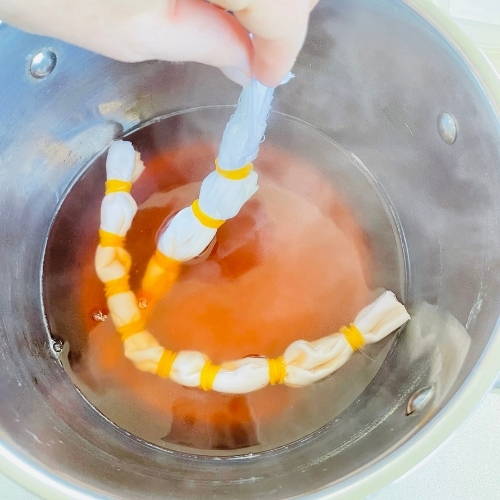
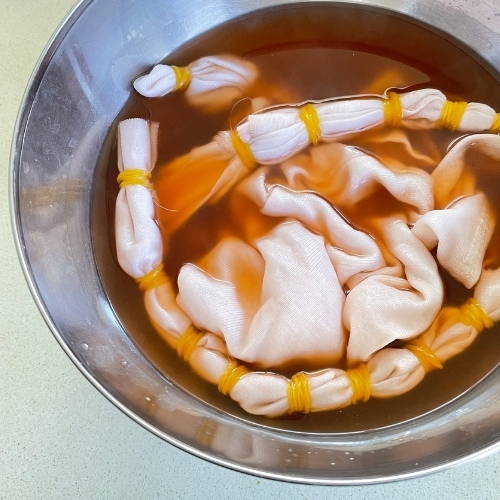
Note: you do not have to immerse the whole cloth in- you can leave some parts white if you choose.
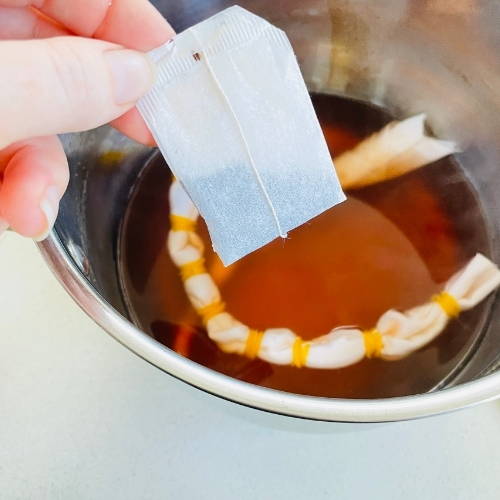
Fun fact: If you add a teabag to the boiling dye, it will become a darker pink! Have a go!
Step 6:
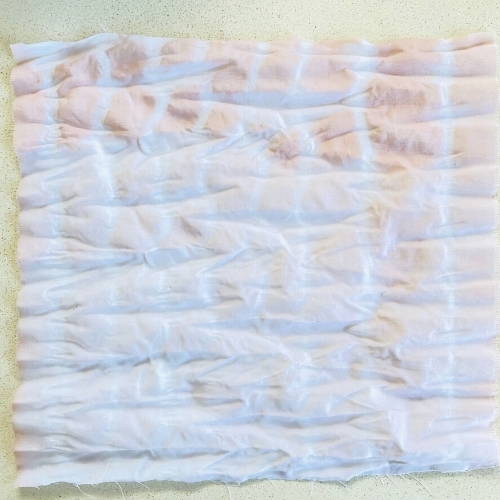
Once you have the desired colour, take the cloth out and give a little squeeze of any excess water.
Step 7:
Let it dry! You can either let it dry whilst still tied up with the elastics, or you can open it to see your design and let it line dry.
Keep in mind you can tie the elastics or string in all types of ways, be creative and most of all- have fun!
We hope you have fun making your own Tie Dye patterns!!
We'd love to see what you create. Share it on Instagram or Facebook and tag us!